Can you relate to having a ton of that gorgeous paper you just can’t seem to cut?
Cutting up DSP has always been so difficult for me until I started accumulating waaaay too much. No longer fear the cutting of this paper as you can now use it and see it in your own home or gift it to a friend so they can enjoy it. You will love this wreath so much that you may end up with many of these Strip Wreaths around your home for every season. USE it up buttercup!
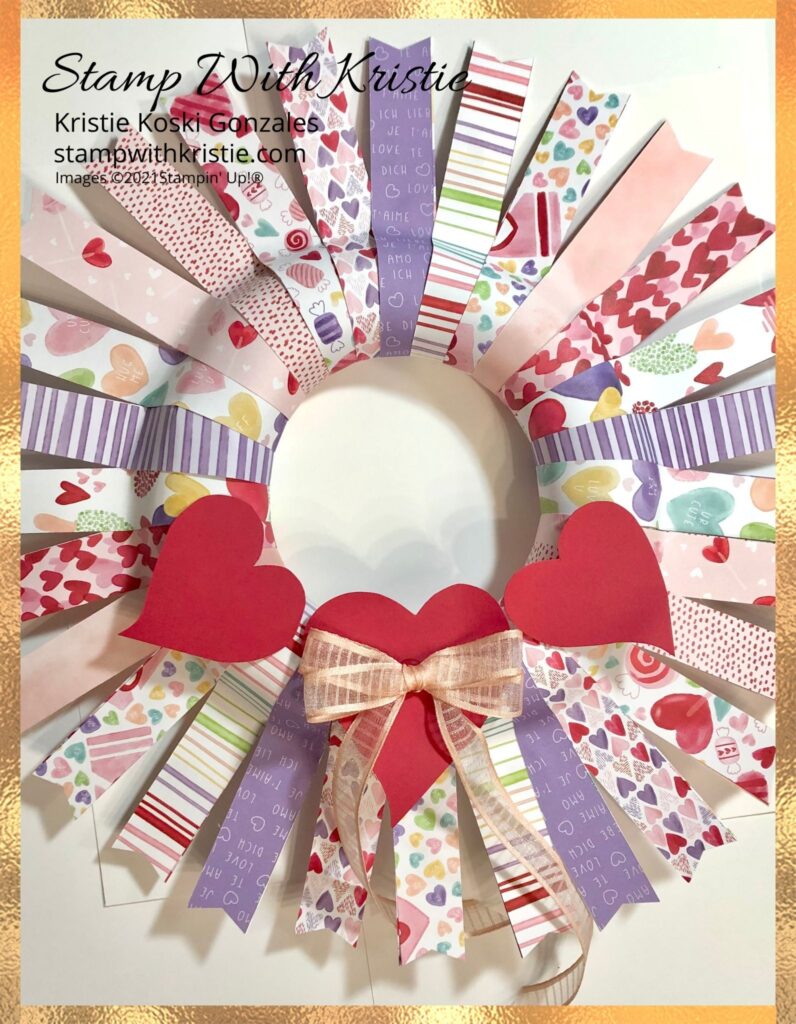
My First Play at the Strip Wreath
I tried out an 8″ wreath for my first one by using a fun and cheerful DSP Sweet Talk from the January-June 2022 Mini Catalog. It turned out so adorable for Valentine’s Day, that I created a Zoom class for it!
And Another Strip Wreath was born…..
I decided to decorate a large wreath with the absolutely beautiful Hand-Penned DSP from the Annual 2021-2022 Stampin’ Up!® Catalog.
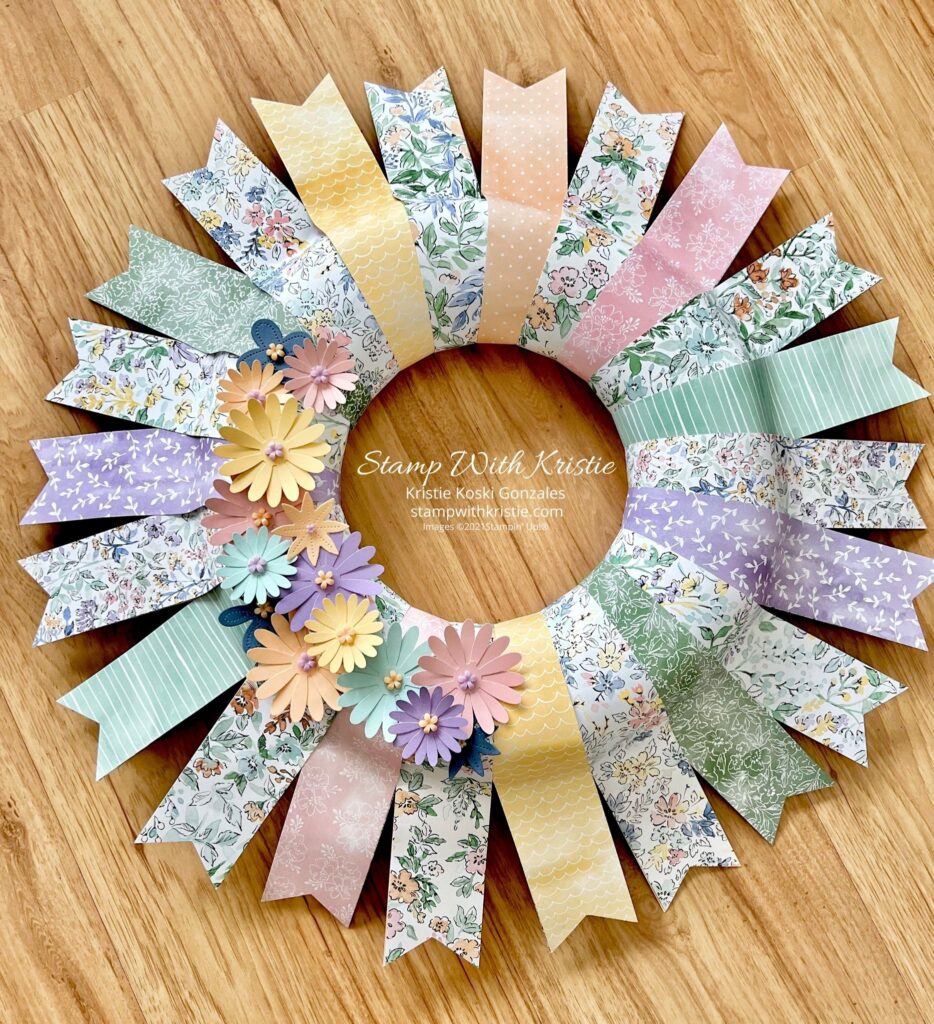
The larger wreath was calling to me for some fabulous spring decoration. There are a few different steps to take than with its smaller 8″ counterpart.
Cutting Strips and Putting them Together for the 12″ Wreath Form:
1. Cut 3 – 2×12 inch strips (same DSP print) with Trimmer
2. Cut 1 strip in half so you have 2 strips that are 2×6 inches.
3. Using 1 short and 1 long strip, you will now make 1 long strip that will measure 2×17.5″ by adhering 1 of the 2×6″ strips to the bottom of the 2×12″ strips (along the 2″ edges) with Multipurpose Liquid Glue and then do the same with the other 2 strips.
4. Do steps 1-3 with each DSP print from the coordinating pack that you have so you make approximately 22 completed longer strips of all different prints.
What Adhesive is for You?
5. Here is where we all differed in the small wreath class….I have tried it both ways and honestly like the Low Temp Hot Glue Gun as it is much faster drying than the Liquid Adhesive, but the Liquid Adhesive also dries much flatter. So you choose your adhesive medium. Even set on low temp, any Hot Glue Gun is a “use at own risk” as the glue is heck a hot through the paper. I felt like I may have burned off my fingerprints at times, but nope. They are still there ?
Get to Wrapping and Punching the Strips
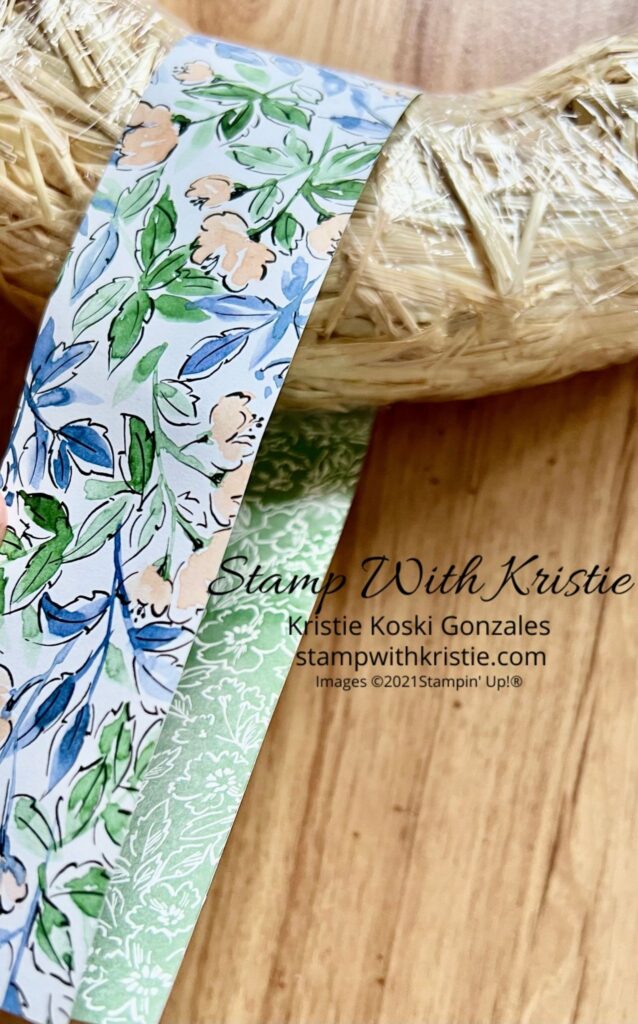
6. I used a 12″ straw wreath with plastic wrap kept on, but you would probably be better off using a styrofoam form.
—-Wrap your first strip loosely around a 12″ wreath form like it shows in the photo below. Adhere the “wrong sides” together with your adhesive choice (make sure it is a strong bonding adhesive.) Layer the 2nd one slightly over the 1st one and adhere. Keep doing this until you get to the last strip and then tuck it under the first one so it is seamless and you can’t see the start or end of the wreath strips.
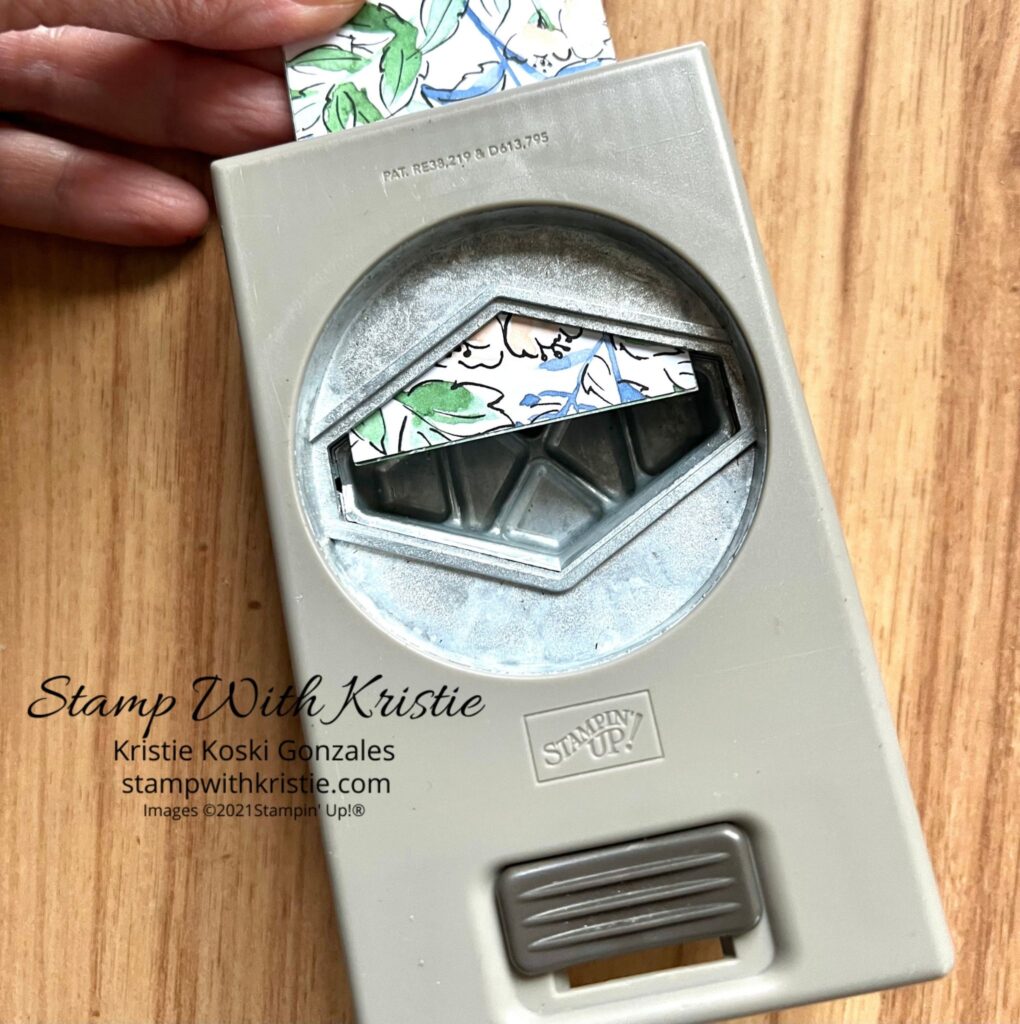
7. Using the Tailor Made Punch to create flagged ends, inserting the strip ends to the desired spot and punch! Keep these pieces and stay tuned for my next blog post, “How to Use Your Scraps for a Simple Card.” Just remember to come back to this post so you can finish your Strip Wreath!
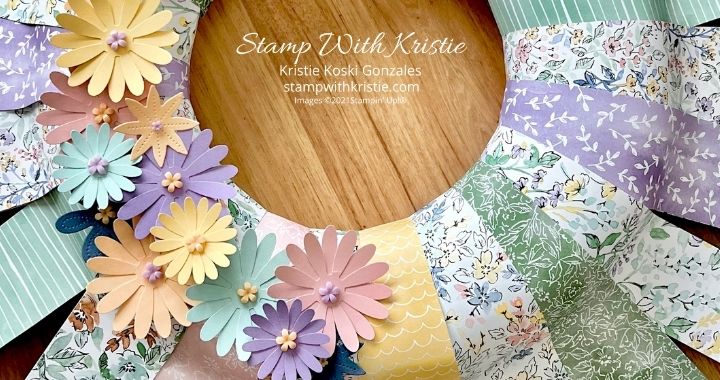
Adding the Pretties to Your Wreath
8. Use a hot glue gun of your choosing or if you don’t want to risk the burns then use some Stampin’ Dimensionals to build up your flower height. (This is at your own risk as I assume no responsibility for burns.)
—-Decorate as you would like with either Flower Dies, Punches, or the Daisy Punch and the Medium Daisy punch as I have done.
—-I used the hot glue and swirled a big pile on the back of the Daisy center, put it where I wanted it and then held it up until the mound of hot glue dried on the wreath. This gave it an amazing dimension.
9. I added the adorable Loose Flower Flourishes to the center of all flowers using a Mini Glue Dot folded in 1/2 then in 1/2 again using my Take Your Pick tool. THE BEST TOOL in my ever so humble opinion!
How did your Wreath Decorating go for you? Please leave me a comment either if you made one or with what you liked about this idea.
You can shop all Stampin’ Up! supplies I used with the Add All To Cart option below the product images!? (I even included a link to the Sweet Talk DSP and ribbon from the Valentine’s Wreath.)
Current specials & offers:
- Shop with me and spend $50 or more (prior to shipping and taxes) and receive my monthly Tutorial bundle but remember to opt in on the Stampin’ Up! site to recieve offers from me so I can email that bundle to you. Click Here to shop with me.
- Learn more about joining The Fabulous Stamping Peeps Team or, join my team right quick! We would love to welcome you to our Fabulous group!
- If you need a Demonstrator and live in the USA, I would love to be yours! Please contact me if you need a catalog or with any questions you may have regarding crafting classes or Stampin’ Up! products.
I hope you have a fabulous stamping day!
Kristie
Product List Designer Series Paper")


 Designer Series Paper")


Love your project idea!
Thanks June! It was a lot of fun and super simple!
Fabulous ! Yes, I have LOADS of DSP that needs using up. I’ve created other forms of wreath but never the wrapped strips like this. Need to have a go !
Oh, Sandra! Yes, you sure do!! Thanks for reading and commenting!
They are beautiful ?. What a fab way to use your favourite dsp.
Thank you so very much! I have so much more to use and will be making many more for all seasons.
I took your class & it was fun and easy. I hung my Valentine wreath in the office at our local animal shelter and got comments how cute it was.
That is fabulous Barb! You did a wonderful job on your wreath. ?. Thanks for checking out my blog!
Yes yes yes – I have tons of DSP that is too pretty to cut ?. Thanks so much for your fab tutorial Kristie I will definitely be giving this one a try.
LOL!! Yes! Soooo much DSP!!! It is a problem and I so hated to cut it up, but now…I get to see it out of its packaging.
What a great way to show off our beautiful papers!!
Thank you so much Teresa! I am going to make them in all seasons now. Super easy and fun!
Very pretty
Thank you Sue!!!
I love those wreaths and east to follow instructions! I can imagine you talking as you write these out. ?
?. I was talking as I was writing?. Oh, you know me well Terry!
Easy not east. Darn auto correct.
I am interested in the 3D projects immensely.
Wonderful! I will keep you in mind then! Thanks for checking this out yesterday!
Great blog and love the wreaths! So glad I took your class and made that small one.
So happy you took it as well, and your wreath turned out so beautiful!
Beautiful!!! I wish I could find the time to do this!!! You are so talented!!!
Thank you!!! Shoot me an email at Kristie@stampwithkristie.com and we can chat about kits! So much fun but all ready for you to just take it out and just craft. Everything is in them and ready to go.
These are so cute and versatile. I can’t wait to make one.
So glad you like them, Elizabeth! Thanks so much for checking out my blog and commenting. Hugs!